How to Connect to Windows Server Using Remote Desktop

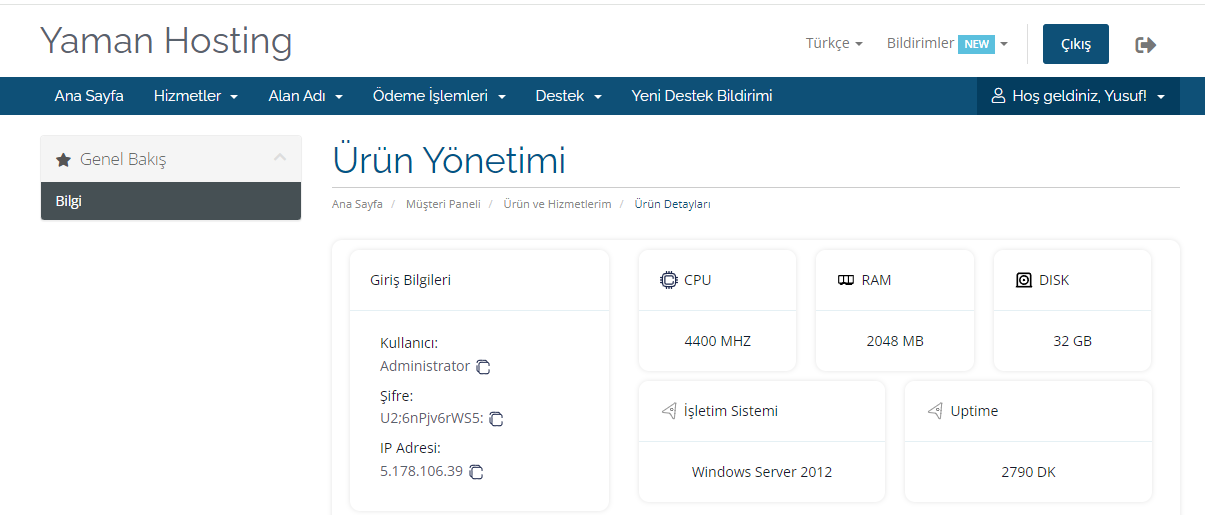
To connect to your Windows virtual server using Remote Desktop, first find the server's login details in the client area.
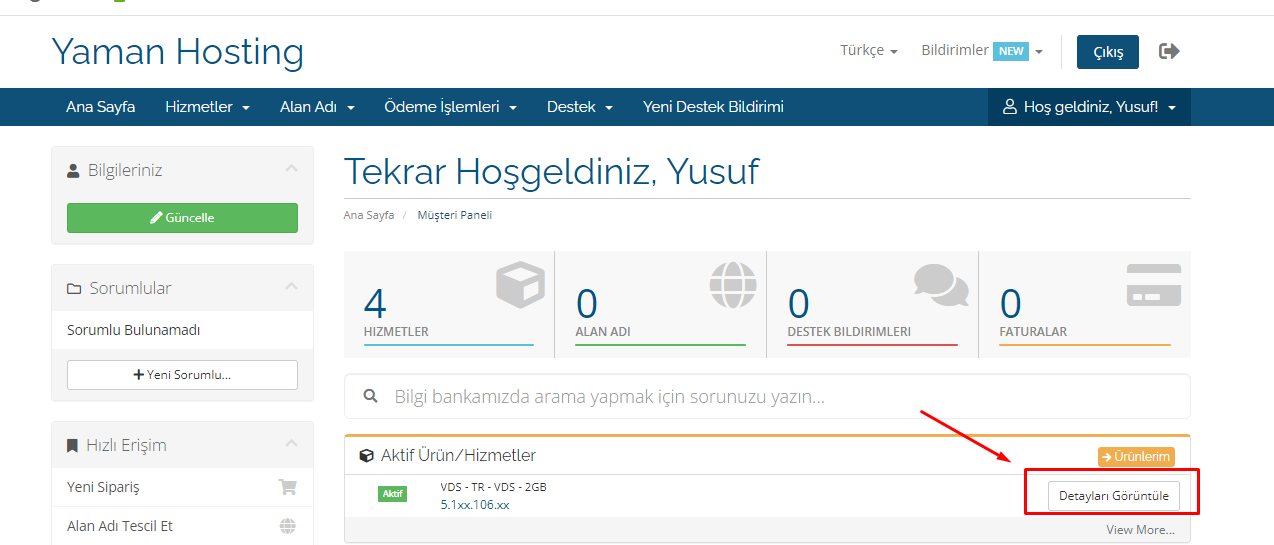
The page includes an automation panel for controlling your product. This panel contains the login details you need to connect to your virtual server: “IP Address,” “Username,” and “Password.”
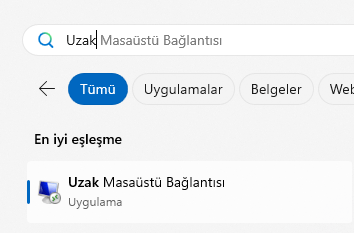
To log in to the server with these details, type “Remote Desktop” in your computer's search box and open the built-in Windows application.
The application asks for a “Computer:” name. Enter your IP address here, then click Connect. The previous image shows where to find it.
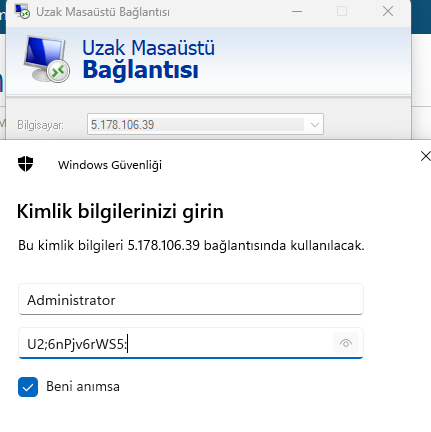
You will be asked for credentials. Use the details found above and enter the username and password in the appropriate fields. Then select “Remember me” and click OK. If the username field is not shown or displays something else, choose “More choices -> Use a different account” to reach the screen where you can enter your username.
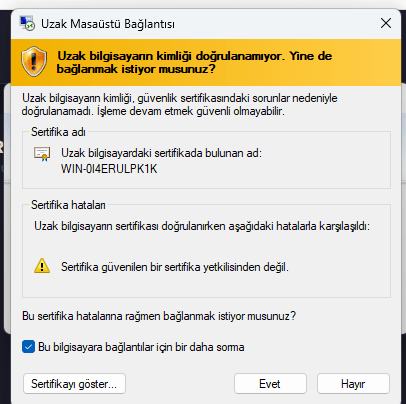
After you enter the details and attempt to connect, a certificate warning appears. Select “Don't ask me again for connections to this computer” and click “Yes.”
Now that you have completed the connection steps, your Remote Desktop screen should open. Everything you do here runs in an environment separate from your own computer. When you leave the virtual server, applications you left open or running continue to operate rather than closing. This provides a 24/7 working environment and an isolated system.
If you connected with all the checkboxes selected, as shown in this article, you will not be asked for the password or certificate confirmation again.
Thank you for choosing Yaman Hosting.